How to Set Up Three point lighting
Jul 11, 2021
Three-point lighting is the standard form of professional lighting in video production and still photography. It involves using three light sources placed in three different positions. By playing with the size, distance, intensity, and position of these light sources, including their degree angle, it is possible to control how light and shadow fall on a subject, creating different moods.
What Is Three-Point Lighting?
Three-point lighting is a traditional method for illuminating a subject in a scene with light sources from three distinct positions. The three types of lights are key light, fill light, and backlight.
Key Light
This is the primary light and is typically located on the right or left of the camera, 45° from it, pointing 45° down on the subject. The use of a diffuser is necessary if the shadows are too hard. If you're outdoors in bright light, you can use the sun as your key light.
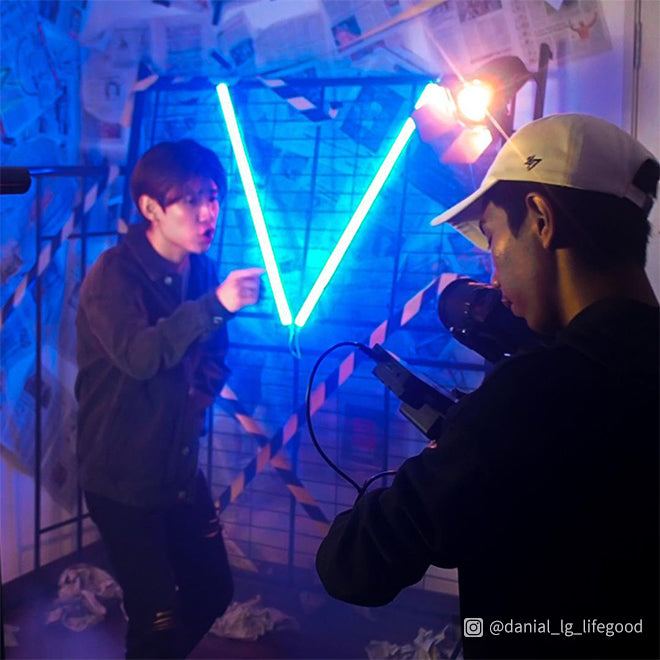
Shoot by instagram @richardycj
Fill Light
The fill light shines on the subject but from a side angle to lessen the shadow produced by the key light. It's typically diffused and about half the brightness of the key light. If your light is too bright and producing more shadowing, you can use a reflector to soften the light – pointing the fill light at the reflector and reflecting the diffused light on the subject.
Back Light
Also known as the rim, hair, or shoulder light, this light shines on the subject from behind, distinguishing the subject from the background. Some people use it to the side to enhance the hair (known as the kicker). Many videographers use a monolight that's directly focused instead of a highly diffused overhead.
Tips for Setting Up Three-Point Lighting
Establish your light's "motivation." Before you begin setting up your lighting kit, you have to know precisely what look you want to achieve and why. Lighting setups are never random. The source of light in your scene needs to make sense based on the environment that your characters exist in.
Consider light source size and distance. The size of a light source relative to the subject size determines how “hard” (sharp, distinctive edges) or “soft” (smooth, feathered edges) your shadows will be. A smaller light source creates harder, distinct edges, while a bigger one softens the shadows.
Consider the intensity of your light source. “Brightness” is the measure of a light source’s intensity. You can measure it with a light meter. With LED lights, fluorescent lights, and incandescent lights, you control the output intensity, which affects the look of your scene. Brighter light will create harsher edges and shadows.
Consider the position of your light sources. Where you place your lights relative to your subject and the camera determines where shadows fall. This relates again to sensibly creating an environment—if your key light represents the sun, it should accurately reflect the angle and height of that source. How you position your fill and backlight affects whether there are deep, moody shadows or an optimistic, even light cast across your scene.
Test your setup. After you have determined your lights' motivation, their size, distance, intensity, and position, set everything up so you can see exactly how all the lights work together and whether or not their effect is precisely what you intended it to be.
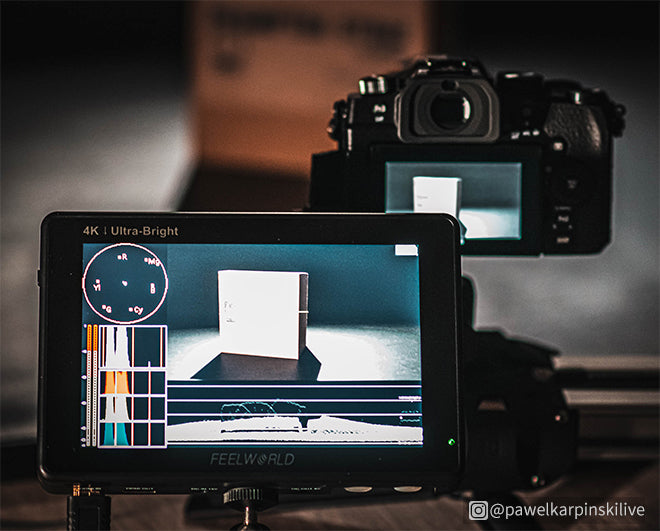
Auxiliary features in the field monitor can help you check the light when shooting, like scopes, false color and zebra. In addition, FEELWORLD LUT6, LUT6S has 2600nit ultra brightness and LUT7, LUT7S, LUT7 PRO, LUT7S PRO has 2200nit ultra brightness, which allows you view clearly in the sunlight.