What is Lens Flare? How to Get It?
Sep 23, 2021
Lens flare may sound like an obscure photography term. For some, it's a mistake to be avoided; for others, it's an aesthetic choice. It depends on the different situation.
What is Lens Flare?
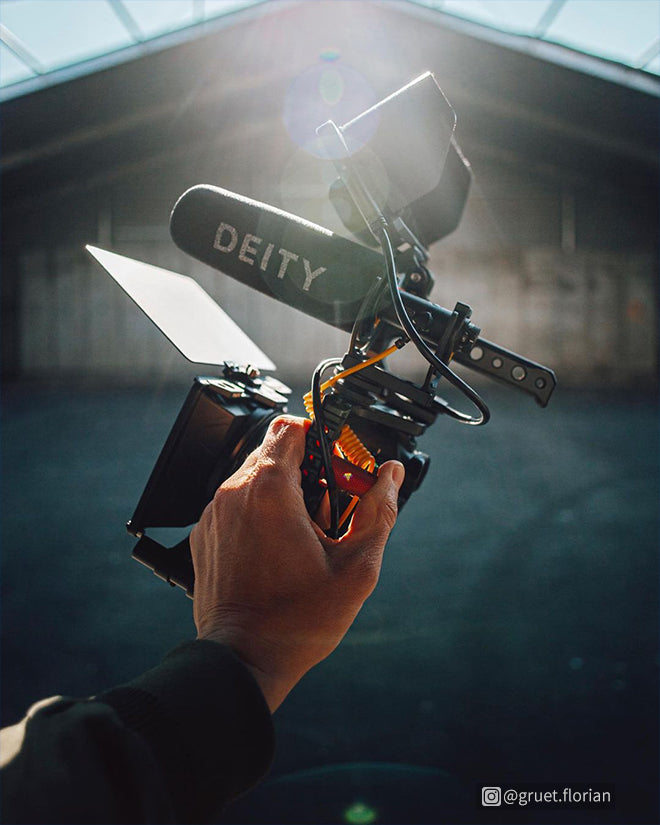
Lens flare happens when the light from the sun hits your lens. Your lens’ position to the light source impacts the size and the look of the flare significantly. The more direct you point your lens to the light, the more prominent the flares. And the more you angle your lens away, the smaller and less noticeable they become.
So what causes the classic lens flare look? When direct light hits the optical elements in the lens, it creates internal reflections. The small circles you see in your frame are, in fact, from all the glass inside the lens barrel.
The pros and cons of Lens Flare
Back in the early days of Hollywood, lens flare was considered ugly. Filmmakers and lens makers even went to great lengths to prevent them from happening. One of the reasons why people didn’t like flares is because of ghosting. So what is ghosting in a photo? It can manifest in many ways, but it typically shows up as halo as light hits the lens elements. It’s generally wider than the distinct orbs you see in a classic lens flare and casts a haze on your image. Despite the problems lens flare can create, there are certain kinds of desired lens flare that can help filmmakers and photographers create dynamic shots. It’s often used in sci-fi films and most non-sci-fi movies set in space.
How to get rid of Lens Flare
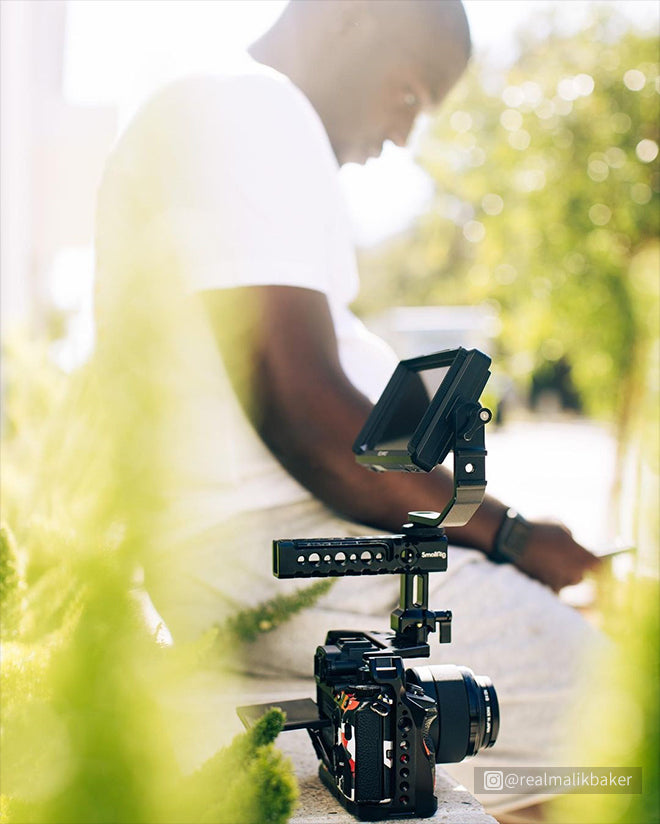
Here are some suggestion for getting rid of lens flare:
1. Try using a lens hood to avoid extra scattering light.
2. Use lenses less susceptible to flare, like prime lenses.
3. Block light and adjust angle of camera to light source.
How to create Lens Flare
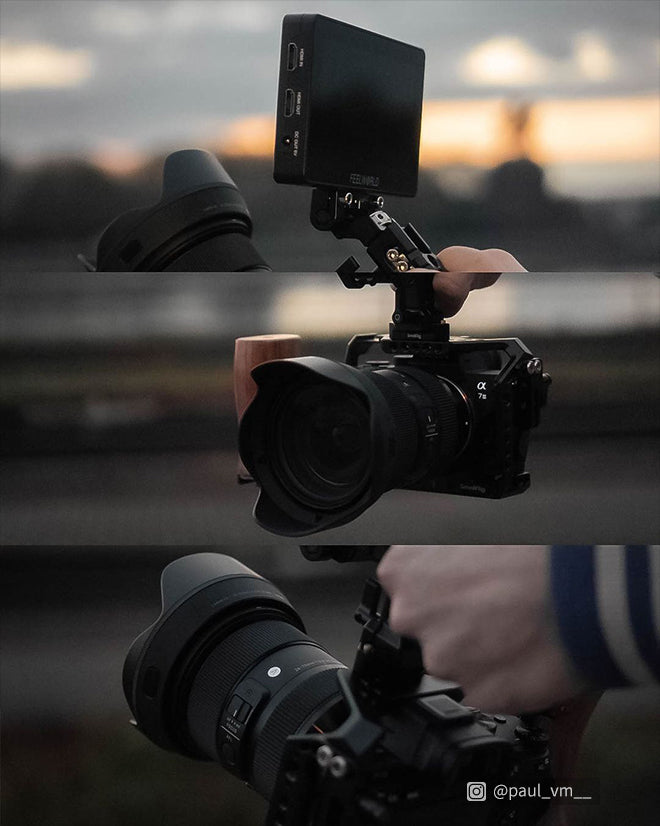
1. Shoot directly facing the bright light source. Whether you’re pointing into the sun or a studio light, make sure the light gets into your camera lens.
2. Place your subject in front of the bright light source. If they can block the sun, it’ll diminish the harshness of the light, but you’ll still see a hint of flare in the corners.
3. Play with your camera’s aperture settings. Set your camera to the smallest aperture and then open up. Take a few different photos so that later, you can compare the different ways the lens renders the sun flare.
4. Use camera filters and lenses. You’ll be amazed at how different a scene will look just by using different lens types. UV filters, polarizing filters, and graduated neutral density filters can help you create controlled sun flares.
5. Try experimenting with the sun when it’s partially obscured. See how the sun affects the flare when it’s partly behind a mountain or tree.
6. Experiment at night. Shoot discrete points of light—for example, a streetlight. Later, when you’re processing the images, make notes about which lenses and f-stops give you the nicest looking flares.
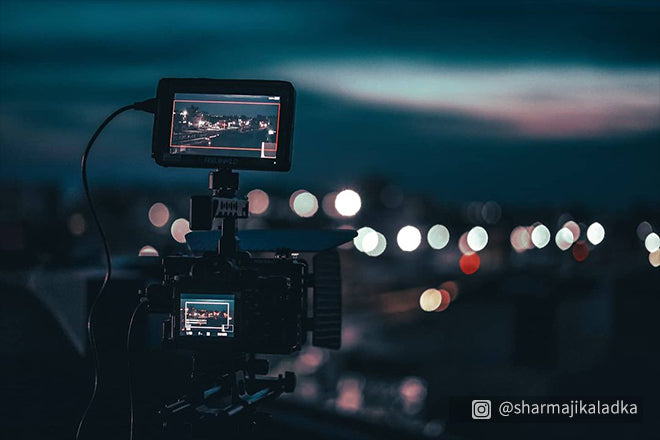
And when you shooting outside in the sun, it's often hard to see the screen because of the sunlight. FEELWORLD LUT6 & LUT6S have 2600nits, LUT7 & LUT7S & LUT7 PRO & LUT7S PRO have 2200 nits, which allow you view clearly in the daylight.

