
How to Setup a Livestream Virtual Classroom
Jun 26, 2021
The simplest streaming setup for your oneline class would involve going to FC/YTB on your phone, pressing ‘live video’ on your timeline, and pointing your phone’s camera at either yourself or a computer.
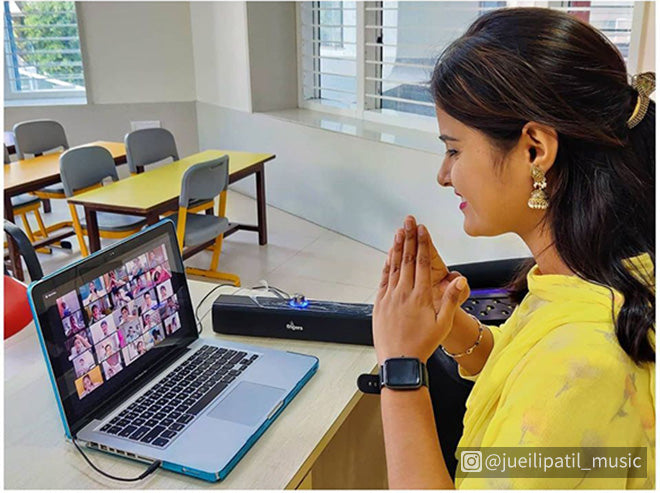
This approach has obvious limitations. With a single camera and no dedicated audio source (microphone), the delivery of your message is pretty ordinary. As a result, you will struggle to hold your students’ attention for any length of time.
Let’s look at a much better solution:
two cameras
a computer
a microphone
a video switcher
suitable lighting
This may sound expensive and technically challenging. I assure you it isn’t.
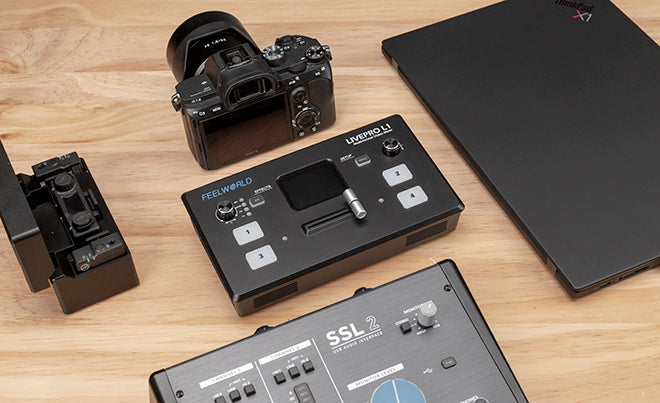
Sample setup using the FEELWORLD LIVEPRO L1 V1 streaming switcher
Two Cameras
The main advantage of using two cameras is that you are able to change the view for your students. A typical ‘scene’ would be to have a close-up (blackboard) camera, for when you are writing on the blackboard, and a wider view (slightly further away) so that the students can see more of your body language.
A Microphone
Poor audio may make your students lose patience. A clear and understandable voice is the key to keeping students engaged.
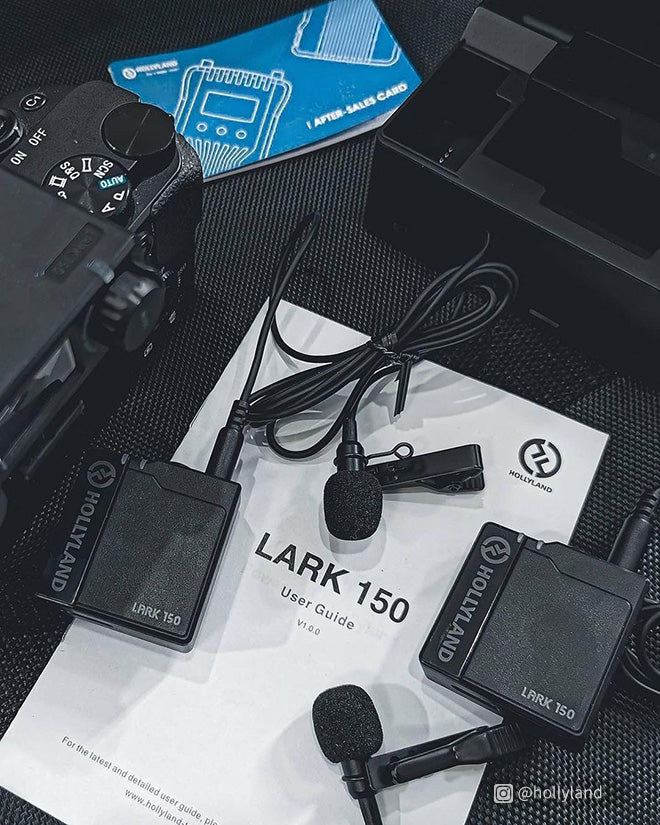
Lapel microphones are a good choice for teachers because they are very good for cutting out room noise and delivering a consistent audio signal for your stream. They also allow you to move around without carrying a microphone or adjusting a mic on a stand.
You can purchase a Hollyland lapel mic like me.
Lights
The lighting of your space is important to set the mood. This can be done with simple overhead light and a lamp or two. The main thing is to test a few things beforehand to get it right.
A Video Switcher
Next is the most important part.
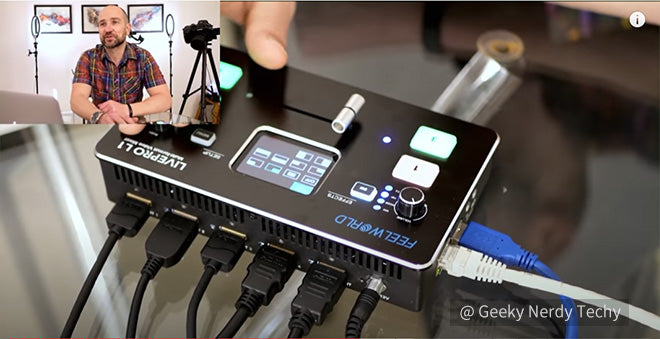
With a video switcher you can plug-in multiple cameras, microphones, computers, laptops, smartphones, tablets and media players (depending on the number of inputs available). They also come with great features like picture in picture, split screen, smooth transitions and many other professional effects that will bring your presentation to life.
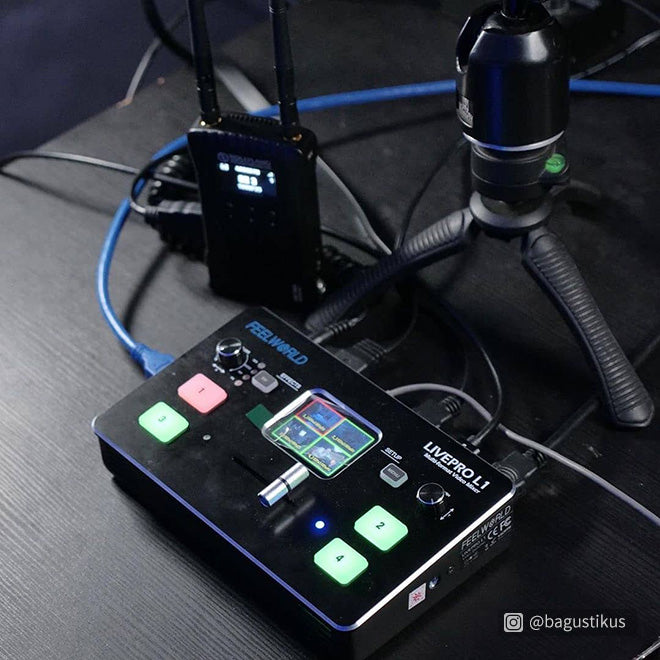

FEELWORLD LIVEPRO L1 V1 comes with a USB 3.0 output, and that really simplifies streaming. All you need to do is take the USB output from the L1 V1 and plug it straight into the USB input of your laptop or computer.
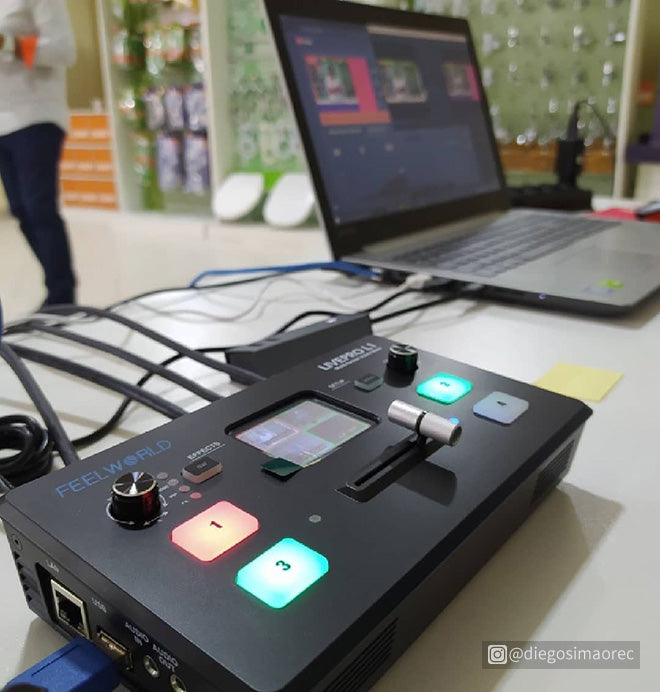
All the gear you need is here, I just need to press the button and switch the camera I need.
This is absolutely great. If I write on the blackboard. I can easily show students what is on the blackboard, which is why I recommend setting up two cameras. If you watch it on a small device, you really can't see the words on the blackboard in the background, it will become very small and difficult to read. And most of the time, the teacher’s body will block the key content.
There's a nice little feature here, it's called the picture-in-picture and so if I go back to the camera and I turn it on, now I can actually put myself in the corner and learn interactively through body language. I can bounce back and forth if I feel like I want to. Then you can switch back to just the camera when you aren't necessarily referencing something that's on the board.
So that's the real help of how the L1 V1 does.
You then open up the OBS and the L1 V1 will come up as a webcam source! Copy and paste the corresponding platform's streaming code and key, now you can start a live stream.
There are also links below on how to find the equipment you need to:
FEELWORLD LIVEPRO L1 V1 | Great Mini 4xHDMI USB3.0 Video Live Streaming Switcher Mixer